Plastic Free Food Storage with Bee Wrap
/
Plastic Free Food Storage
Bees Wrap DIY
It could be said that I have an unhealthy obsession with plastic. I like to think that I have a passion to use as little of it as possible in my lifetime. This began while working in the grocery industry during my 20’s. I saw how pervasive plastic is in our society and began to realize the impact it has on our world. I began making my own purchasing choices around what was enclosed in these polymers and what was not. I am that person who has a jar collection, buys in bulk, cooks from scratch and eats a ton of fruits and vegetables. And, I love it!
Plastic Wrap is something that I have not used in my house at all in my adult life. Instead I opt for reusable containers (like jars). Ocassionally there is a need to wrap something – picture a sandwich that I want to take on the go. This is when I reach for my home made Bee Wrap.
Bee Wrap is a simple, reusable, compostable item that you can make fairly easily and quickly. Essentially you need fabric, bee’s wax, pine resin, jojoba oil and a few supplies you most likely already have at home. It is a great way to use up fabric scraps leftover from a sewing project. It’s easy to clean with soapy water – I use Dr. Bronner’s Magic Soap. (I actually use this for just about everything – ALL ONE!) Once its washed and dry it’s ready to be used again for more food storage. And when it’s no longer sticky, you simply compost and start with fresh bee wrap.
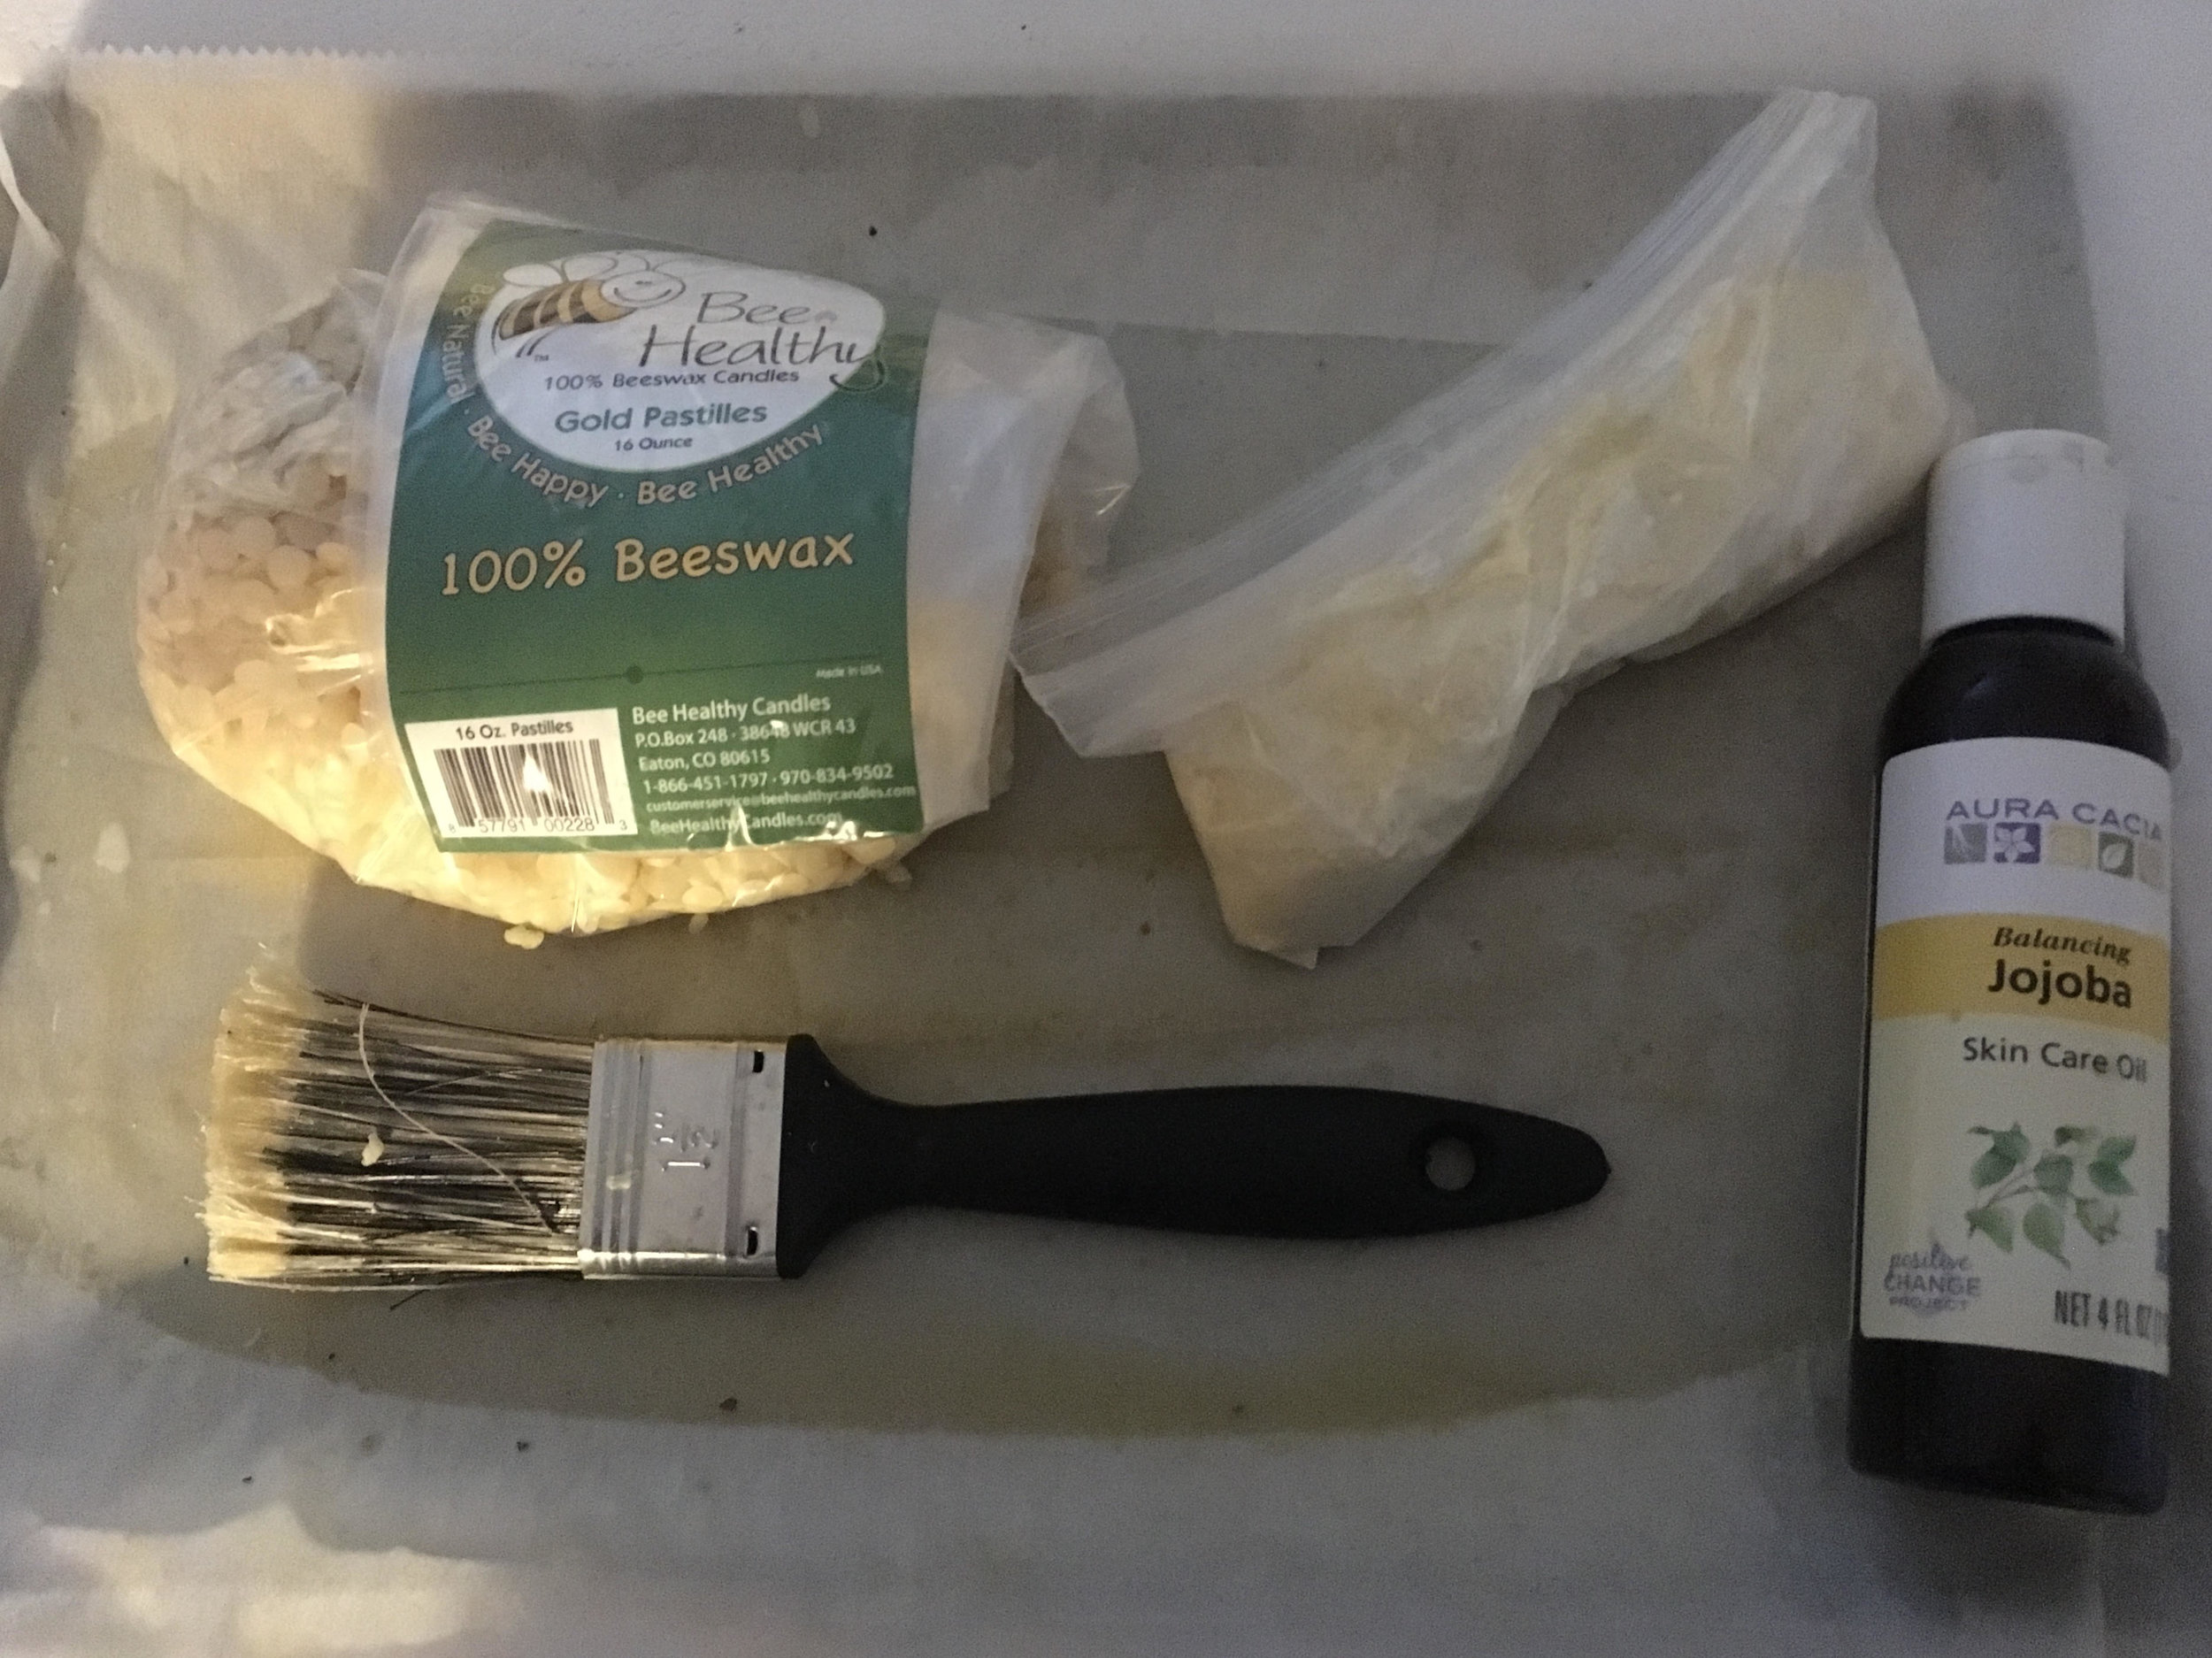
Here’s What You’ll Need:
Fabric – Cut into whatever shapes you desire for your wraps. Use bowls to create circles if you like. I am a bit fan of squares that are large enough to fit a sandwich inside. I also always keep a few smaller ones for storing ½ an onion or something else that I will use later. I find that fabric like that of a bed sheet is great for this project.
Bee’s Wax – I purchased mine from our local Natural Grocers but it can be found online as well. It comes in blocks and small pieces typically. If you get a block, you’ll need to use a grater to shave it into smaller bits. I chose a small bag of small pieces.
Pine Resin (optional)– This is essentially sap from trees. It is optional, though using it provides a bit of extra stickiness to the wraps. I purchased a 1 lbs bag online from Essential Living.
Jojoba Oil (optional) – This is a plant-based oil that can be easily procured at most stores that sell body care items. I is very hydrating and your skin will love it if you live in a dry climate. This is an optional ingredient in these wraps. I find that it is very helpful in spreading the pine resin so I would definetly recommend using it if you choose to use the pine resin. You don’t need too much so opt for a small bottle for this project.
Scissors for cutting fabric, a large cookie sheet or baking pan, a paint brush that can be dedicated to this project, and a drying rack or string tied up as such. And of course, an oven.

Here’s the process
Step by step
Step 1: Preheat oven to 200 F
Step 2: Cut your fabric to desired shapes
Step 3: Wrap your cookie sheet/baking pan in aluminum foil to protect it (note: you can dedicate a pan to this project moving forward if you’d rather. Also, aluminum foil can be recycled when you are done as it is melted at high heat and infinitely turned back into itself – always recycle aluminum foil!)
Step 4: Place your fabric onto the pan and sprinkle with bee’s wax. You’ll want enough so that as it melts it covers the fabric. If you put too much on, don’t worry. You can soak the next piece of fabric in the leftovers.
Step 5: If using pine resin, sprinkle a little of this on as well. Then sprinkle with jojoba oil to help it melt and blend. Again, don’t worry about too much or too little at first. Once you get going, you’ll figure out how much you need.
Step 6: Put in the oven for about 10 minutes to melt the wax, etc.
Step 7: Using pot holders, pull out the pan and use the paintbrush to spread the wax evenly on the fabric. Make sure to get the corners and edges!
Step 8: Lift the fabric and hold over the pan for a few seconds to catch any dripping wax. I started out using tongs to to this and then started using my fingers as I got the hang of it. Be careful not to burn yourself as you go!
Step 9: Hang the bee wrap on your drying rack/string and let cool for a few minutes.
Step 10: You did it! If you don’t like the way it looks or you feel it needs more/less of the wax coating, simply stick back in the oven and adjust. It’s very forgiving since it is just wax and fabric.

Do this with friends
for more added benefit!
Making your own bee wrap is a lot of fun when you plan to do it with your friends! You get to chat and catch up while you’re in the process and build your community. I recently got together with 3 of my girlfriends to tackle this project. I find that the more we get together, the better life is. Plus, it takes a lot of bee wrap making to go through 1 lbs of wax + 1 lbs of resin. We didn’t even get through 1/2 and we each walked away with several wraps made.
If you decide to make some for yourself, I’d love to know how it goes for you. Also, if you have questions or comments, please don’t hesitate to reach out.
Happy Bee Wrapping! And much gratitude to the bees who do so very much for us. <3